
Proper Protocol for Glucose Tolerance Test Specimen Collection in a Medical Lab Setting
Summary
- The glucose tolerance test (GTT) is a common diagnostic test used to evaluate how the body processes glucose.
- Proper collection and handling of specimens are critical to ensuring accurate Test Results.
- Following a strict protocol for collecting and handling specimens for a GTT is essential to maintain the integrity of the test.
Introduction
The glucose tolerance test (GTT) is a diagnostic test that measures how well the body can metabolize glucose. It is commonly used to diagnose diabetes and other glucose metabolism disorders. Proper collection and handling of specimens are crucial to ensure accurate Test Results. In this article, we will discuss the protocol for collecting and handling specimens for a GTT in a medical lab setting within the United States.
Specimen Collection
Specimen collection for a GTT involves several crucial steps to ensure the accuracy of the Test Results. The following protocol should be followed when collecting specimens for a glucose tolerance test:
Preparation
- Explain the procedure to the patient, including the purpose of the test and any Fasting requirements.
- Ensure that the patient has been Fasting for at least 8 hours before the test.
- Have the necessary equipment and supplies ready, including vacutainer tubes, alcohol swabs, and needles.
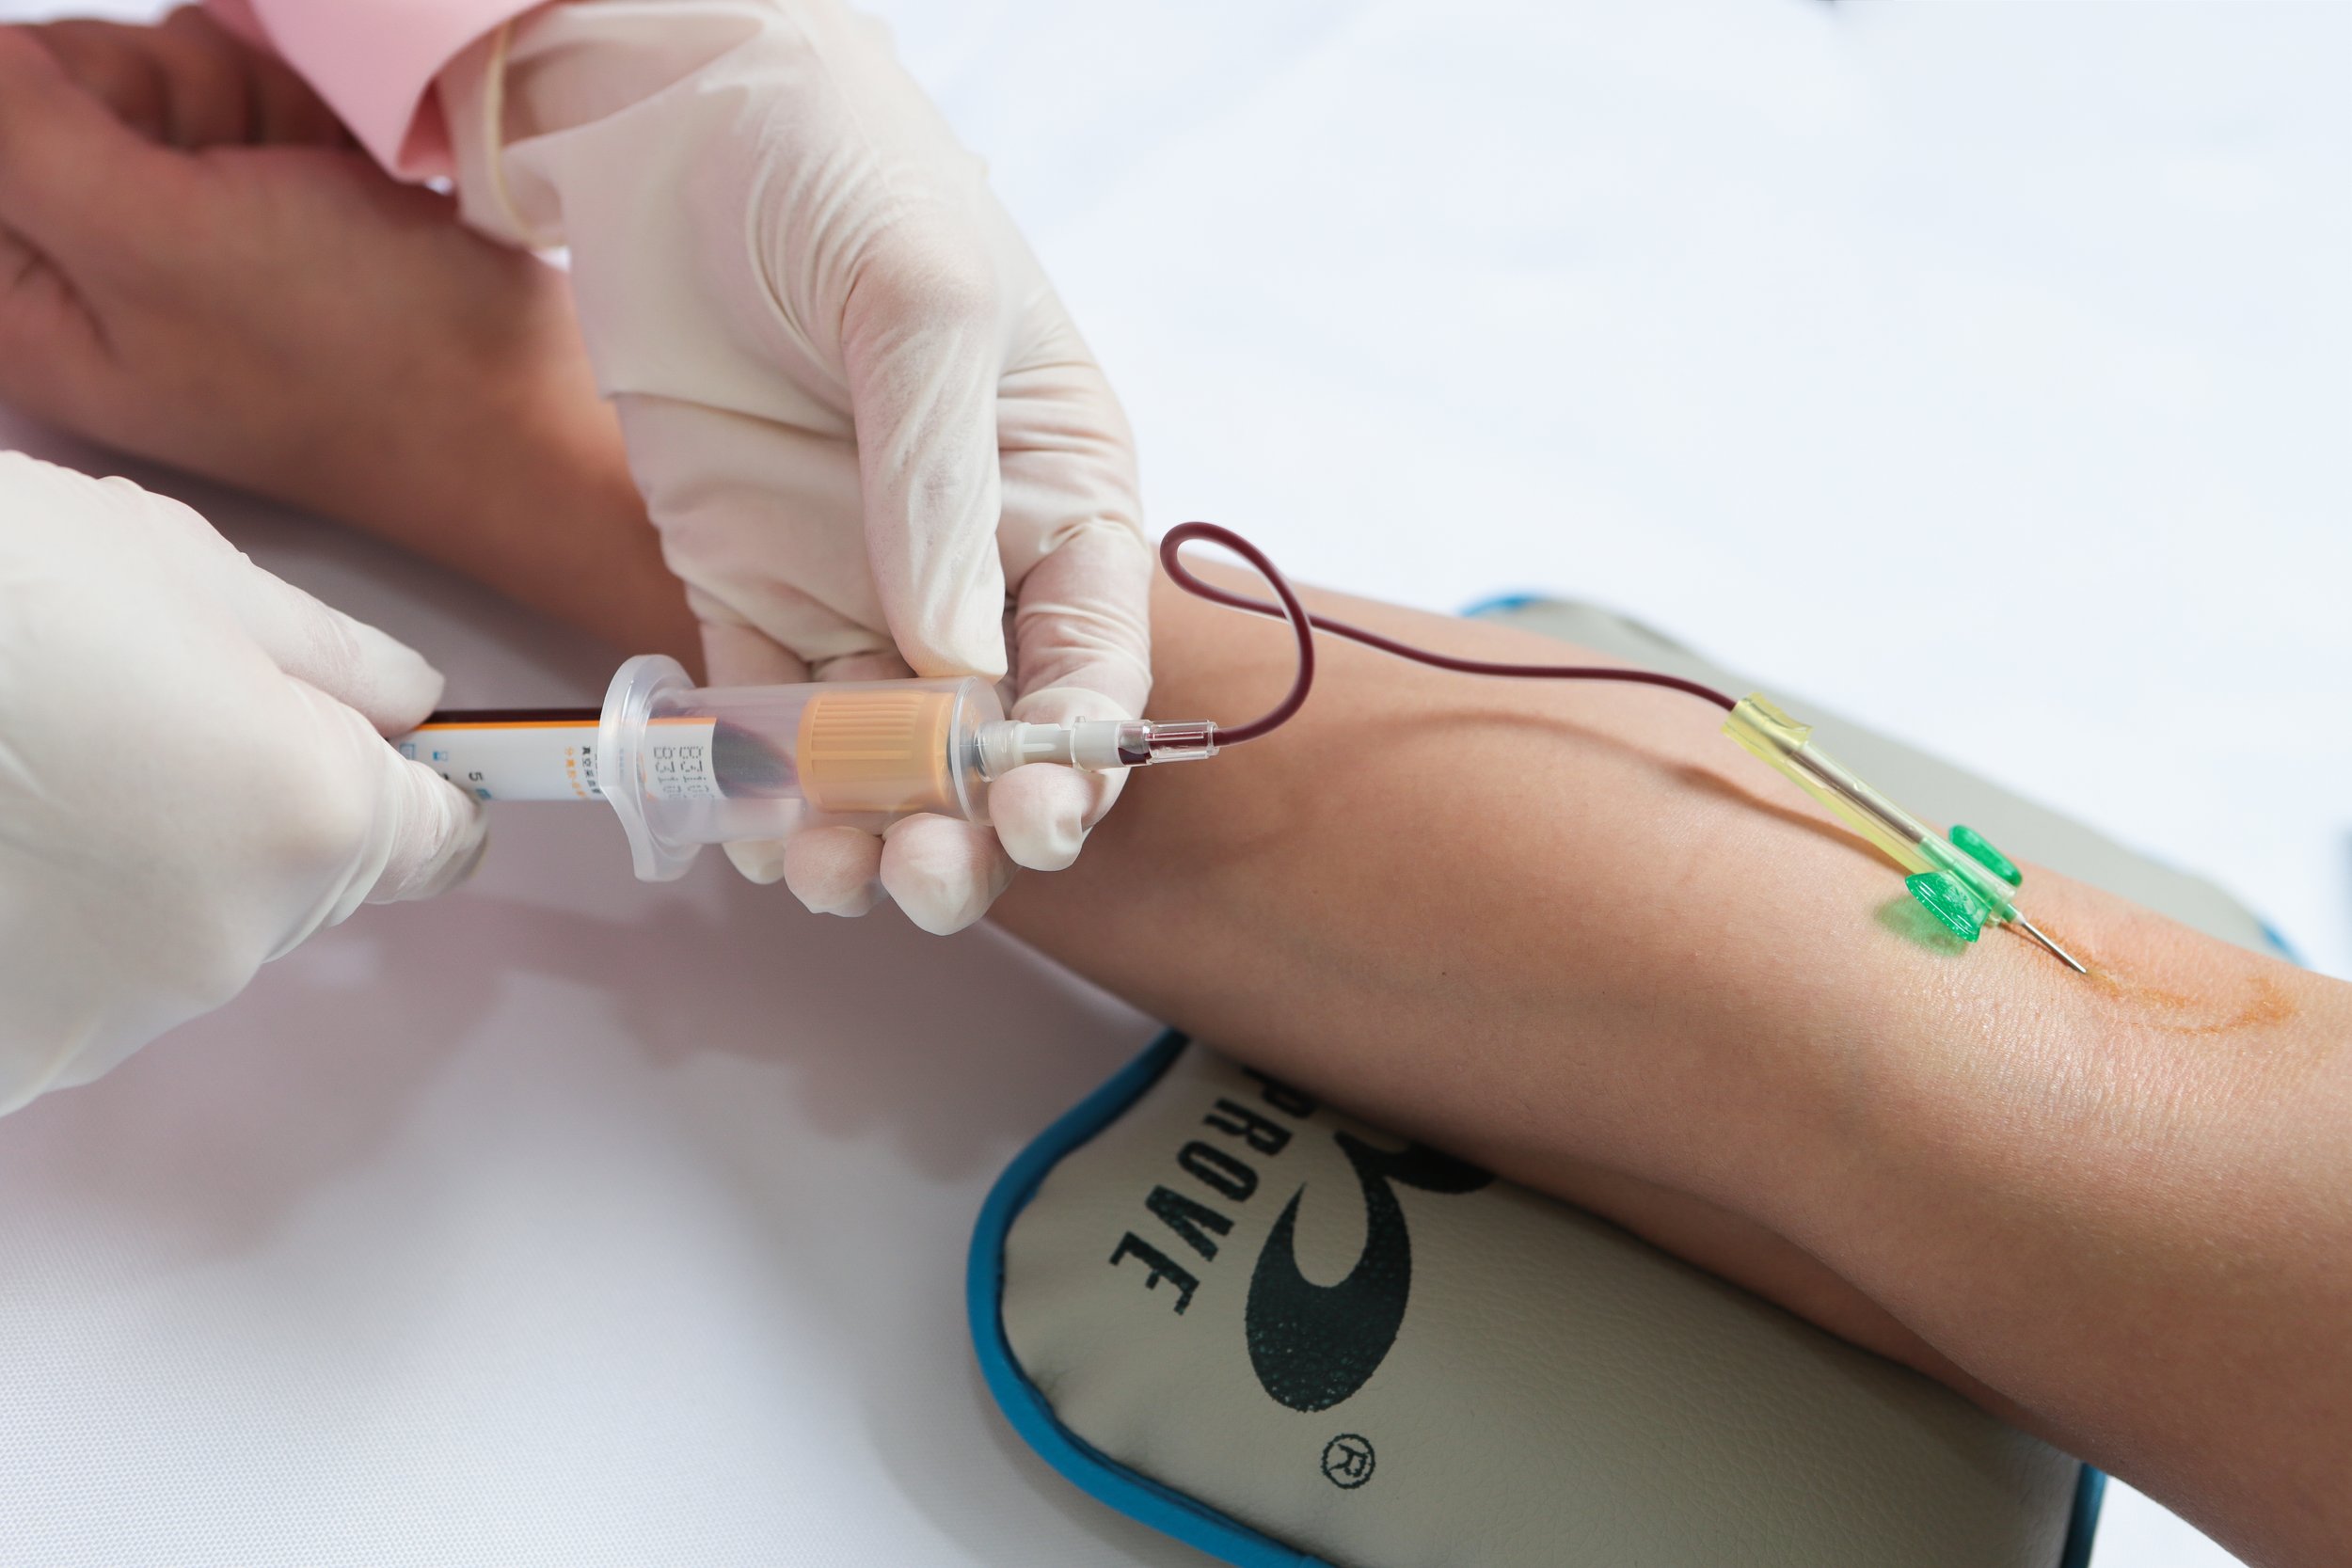
Collection
- Perform a Venipuncture to collect a baseline Fasting blood sample.
- Administer a glucose solution to the patient, typically containing 75 grams of glucose dissolved in water.
- Collect additional blood samples at 30 minutes, 1 hour, 2 hours, and possibly 3 hours after the glucose solution is consumed.
- Label each blood sample with the patient's name, date and time of collection, and any other required information.
- Handle the samples carefully to avoid contamination or clots.
Handling and Storage
- After collection, centrifuge the blood samples to separate the serum or plasma from the cells.
- Transfer the serum or plasma to labeled tubes for storage or analysis.
- Store the samples at the appropriate temperature according to the laboratory's protocol to maintain stability.
- Ensure that the samples are transported to the laboratory promptly to prevent degradation.
Laboratory Analysis
Once the specimens have been collected and handled according to the protocol, they are ready for laboratory analysis. The following steps are typically taken during the analysis of a glucose tolerance test:
Test Procedure
- Measure the glucose levels in each blood sample using a validated assay method.
- Compare the glucose levels at each time point to establish the patient's glucose tolerance profile.
- Interpret the results in conjunction with the patient's medical history and any other relevant Diagnostic Tests.
- Report the findings accurately and in a timely manner to the ordering healthcare provider.
Quality Control
- Perform regular Quality Control checks to ensure the accuracy and precision of the Test Results.
- Calibrate equipment and validate assay methods according to the laboratory's quality assurance standards.
- Document all Quality Control procedures and results for regulatory compliance and accreditation purposes.
- Take corrective action if any deviations from the expected results are detected during Quality Control checks.
Conclusion
Proper collection and handling of specimens are essential for obtaining accurate results from a glucose tolerance test. By following a strict protocol for specimen collection, processing, and analysis, medical laboratory professionals can ensure the integrity of the test and provide Healthcare Providers with reliable diagnostic information. Adhering to standardized procedures and Quality Control measures is crucial in maintaining the accuracy and reliability of laboratory tests, including the glucose tolerance test.
Disclaimer: The content provided on this blog is for informational purposes only, reflecting the personal opinions and insights of the author(s) on the topics. The information provided should not be used for diagnosing or treating a health problem or disease, and those seeking personal medical advice should consult with a licensed physician. Always seek the advice of your doctor or other qualified health provider regarding a medical condition. Never disregard professional medical advice or delay in seeking it because of something you have read on this website. If you think you may have a medical emergency, call 911 or go to the nearest emergency room immediately. No physician-patient relationship is created by this web site or its use. No contributors to this web site make any representations, express or implied, with respect to the information provided herein or to its use. While we strive to share accurate and up-to-date information, we cannot guarantee the completeness, reliability, or accuracy of the content. The blog may also include links to external websites and resources for the convenience of our readers. Please note that linking to other sites does not imply endorsement of their content, practices, or services by us. Readers should use their discretion and judgment while exploring any external links and resources mentioned on this blog.